
File incoming emails to the right job
Artwork, proofs, permits and POs that arrive by email get sorted for you; you confirm.
What this is for
Customers and suppliers send things by email — artwork, signed proofs, council permits, purchase orders — and someone has to find the job and attach them. Sign OS does the finding. Each message is matched to a job and classified, and waits on the Emails to file tab of the Email page for a one-click confirm that files the message and routes its attachments to the job. When Sign OS can't tell which job, you type or search for it.
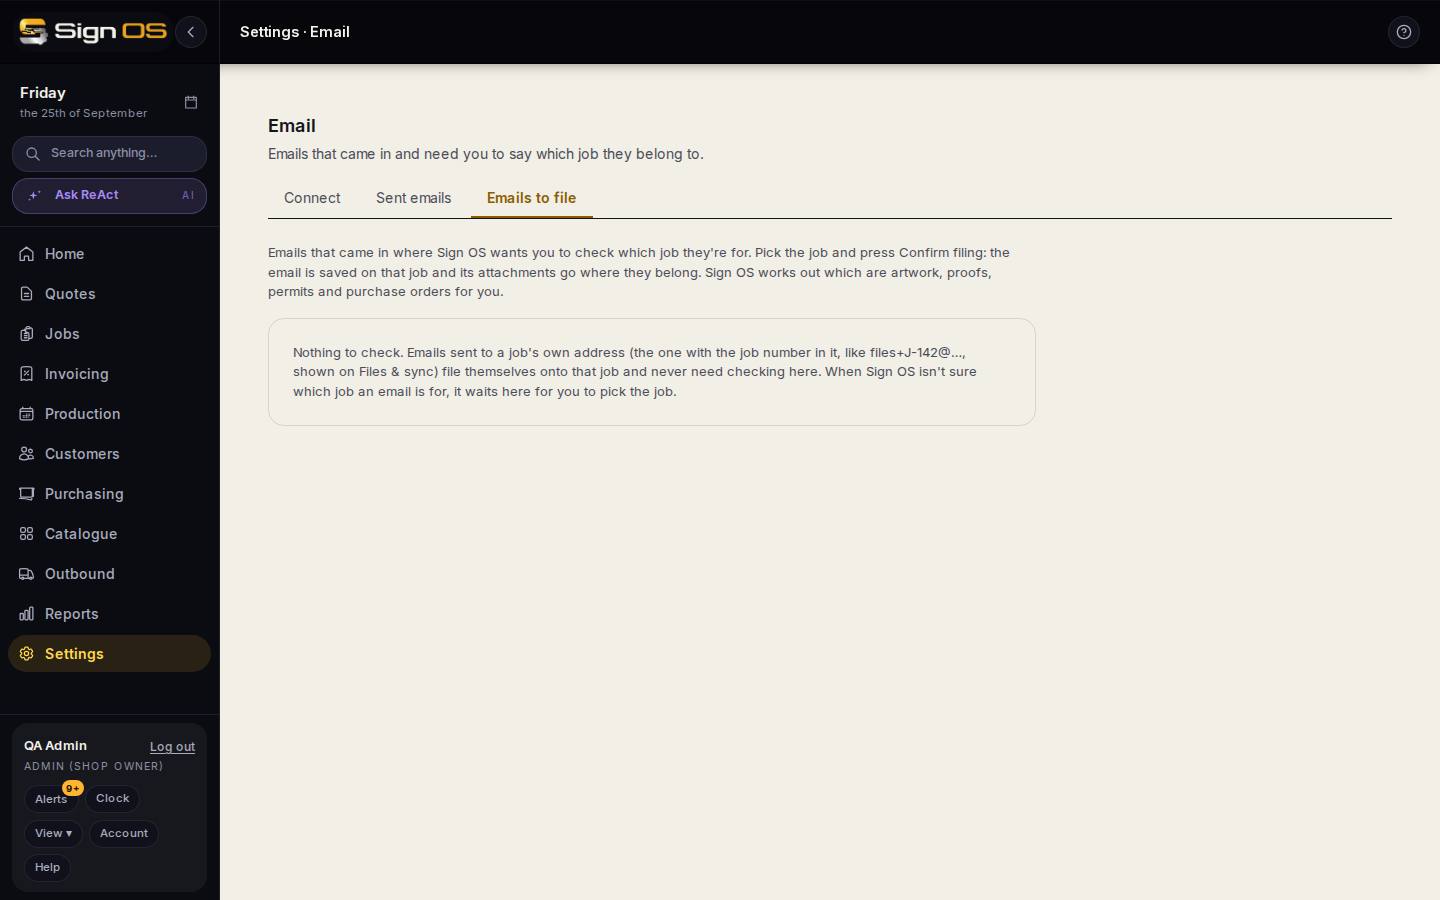
What is on this screen
Each part of the screen above, top to bottom, and what changing it affects.
Top of the page
- Connect · Sent emails · Emails to file
- The Email page's tabs. This is Emails to file: emails that came in and need you to say which job they belong to.
- What this tab is for
- A line under the tabs: pick the job and press Confirm filing, and the email is saved on that job with its attachments sorted into artwork, proofs, permits and purchase orders.
- Nothing to check
- Shown when no email is waiting. Emails sent to a job's own address, the one with the job number in it (like files+J-142@…, shown on Files & sync), file themselves and never wait here.
Each waiting email
- Subject · sender · received · Check the job
- The email, with a short excerpt of what it says.
- Could be for
- The jobs Sign OS thinks it belongs to, each with how sure it is (Very likely, Likely or Possible) and why: the job number is in the subject or the address, it was sent to an address set up for the job, or it is Sign OS AI's guess with its reason. The best guess is already picked; pick another if it is wrong.
- File to job
- Shown when Sign OS couldn't tell. Type the job number, such as J-123, or part of a number or customer name and pick from the matches. A number that doesn't exist in your shop is refused.
- Attachment badges
- Each attachment and what Sign OS thinks it is: Artwork, Proof, Permit, Purchase order or Other file.
- Confirm filing · Dismiss
- Confirm files the email against the job and sends its attachments to the right place. Dismiss clears it without filing.
Before you start
- Set up email on the Connect tab of Settings → Connections → Email first, so your shop has its inbound address.
Step by step
- 1
Open Settings → Connections → Email and choose the Emails to file tab. Anything waiting is listed with the job Sign OS thinks it belongs to and what it thinks the attachments are.
- 2
Check the match. If the picked job is right, press Confirm filing — the message is filed against the job and its attachments go to the right place (artwork to the Artwork tab, a PO to purchasing, and so on).
- 3
If the guess is wrong, pick another job under Could be for before confirming. If there is no guess, type the job number in File to job, or search by customer and pick the job.
- 4
Dismiss anything that doesn't belong on a job.
- 5
Emails sent to a job's own address, the one with the job number in it (like files+J-142@…, shown on Files & sync), file themselves and never appear here.
Tips & gotchas
- Put the job's own address in your reply when you send a proof or ask for artwork. Whatever comes back files itself.
- An empty tab is good news: everything that arrived matched on its own.