
Upload your logo & set your colours
Your logo in the corner, your colours on every button, your font everywhere.
What this is for
Sign OS should look like your shop, not ours. Appearance puts your logo in the top-left corner for everyone, lets you pick the surfaces — accent, nav bar, page background, panels — and a font. Text and border colours are worked out from what you pick and checked for contrast, so nothing here can make the app unreadable.
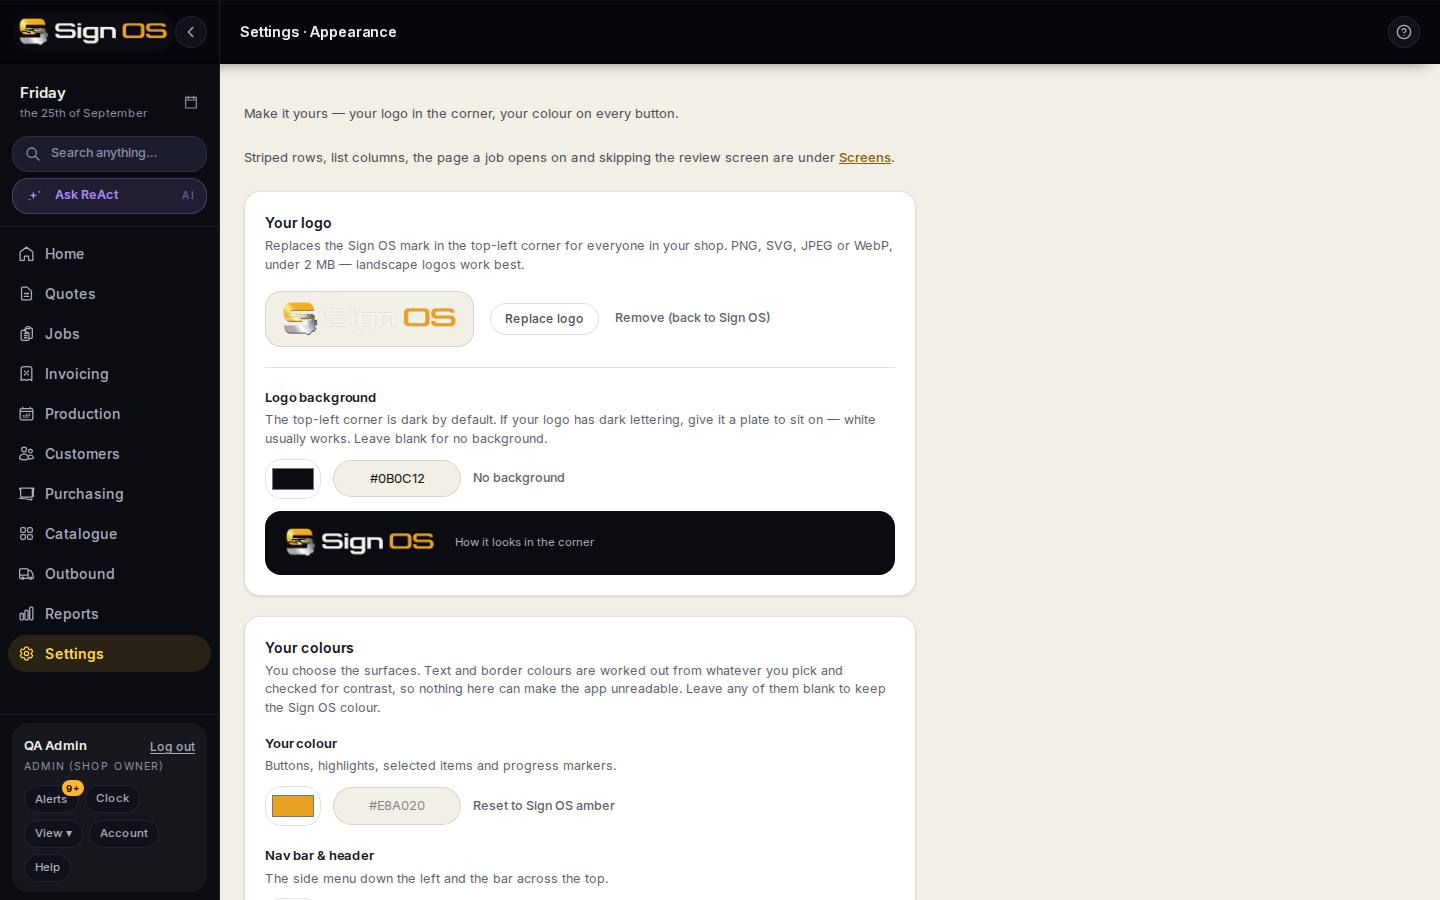
What is on this screen
Each part of the screen above, top to bottom, and what changing it affects.
Top of the page
- Screens link
- Striped rows, list columns, the page a job opens on and skipping the review screen moved to their own page, Settings → Team → Screens. The link takes you there.
Your logo
- Upload logo / Replace logo · Remove (back to Sign OS)
- PNG, SVG, JPEG or WebP under 2 MB. It is the same one logo as Business details, so it shows in the top-left corner for everyone, on your emails, your online store, customer pages and PDFs. Nothing changes until you press Save appearance.
- Logo background
- A plate behind the logo in the corner: none, white or a colour. Use it when the logo has dark lettering that vanishes on the dark nav bar.
- How it looks in the corner
- A live preview of the corner with your logo and background.
Your colours
- Your colour
- The accent: buttons, highlights, selected items and progress markers across the app. Reset to Sign OS amber puts it back.
- Nav bar & header
- The side menu and the bar across the top.
- Page background
- The working surface behind every screen.
- Panels & cards
- The boxes that sit on the page background. Text and border colours are worked out from what you pick and checked for contrast, so no choice here can make the app unreadable.
Your font
- Inter · Manrope · Figtree · Source Sans
- The typeface used everywhere in the app. Each shows a sample quote line. Inter is the default and the most tested at the small sizes the tables run at.
Preview and save
- Preview
- A small version of the real app painted in the colours and font above, so what you see here is what saving produces.
- Save appearance
- Applies the logo, colours and font for everyone in your shop.
Online store note (bottom)
- Online store link
- Shown when your plan includes the online store. The store's on/off switch, its own domain and its own colours live there, not here.
Step by step
- 1
Go to Settings → Look & paperwork → Appearance.
- 2
Your logo: Upload logo (PNG, SVG, JPEG or WebP under 2 MB; landscape works best). It replaces the Sign OS mark in the corner for everyone in your shop. If the logo has dark lettering, give it a Logo background plate — white usually works.
- 3
Your colours: pick Your colour for buttons, highlights and progress markers, then the Nav bar & header, Page background and Panels & cards if you want them. Leave any blank to keep the Sign OS colour; each has a Reset.
- 4
Your font: Inter is the default and the most tested at small sizes; Manrope, Figtree and Source Sans are there if you prefer. Each shows a sample quote line.
- 5
Check the Preview, then Save appearance. Your logo and accent also brand the customer approval and portal pages. Your online store uses your logo, and uses this accent until you give the store its own colours under Online store.
Tips & gotchas
- There is one logo for the whole shop. Uploading it here or on Business details changes the same logo, but only an upload on Business details replaces an old logo your PDFs were given before.
- What a job opens on and which columns lists show are under Settings → Team → Screens, not here.
- Pick surfaces you would put on a wall for eight hours. High-contrast brand colours often make a better accent than a page background.